

Tools You Will Need
To fix a loose charging port, you’ll need the following tools:
- A small Phillips screwdriver (to open your device)
- A pair of tweezers (for adjusting the charging port)
- A can of compressed air (for cleaning)
- A magnifying glass (to closely inspect the port)
- A cleaning brush (to remove dust or debris)
Method 1 – Cleaning
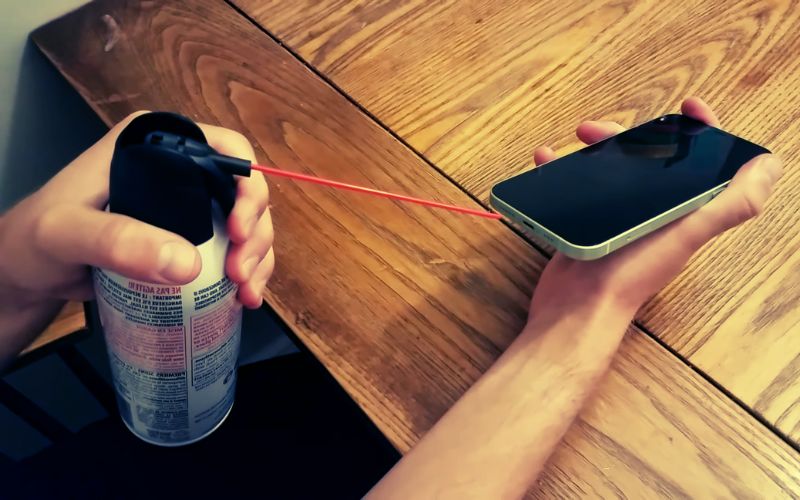
Dirt, lint, and other debris can accumulate in the charging port over time, causing it to loosen. Here’s how you can clean it:
- Use a can of compressed air to blow into the charging port gently. This should dislodge any loose debris.
- If any debris remains, use a small, soft brush to gently brush it away. Avoid using anything sharp as it could damage the port.
- Use a magnifying glass to inspect the port closely. Make sure it’s clean and free of any debris.
Method 2 – Adjusting
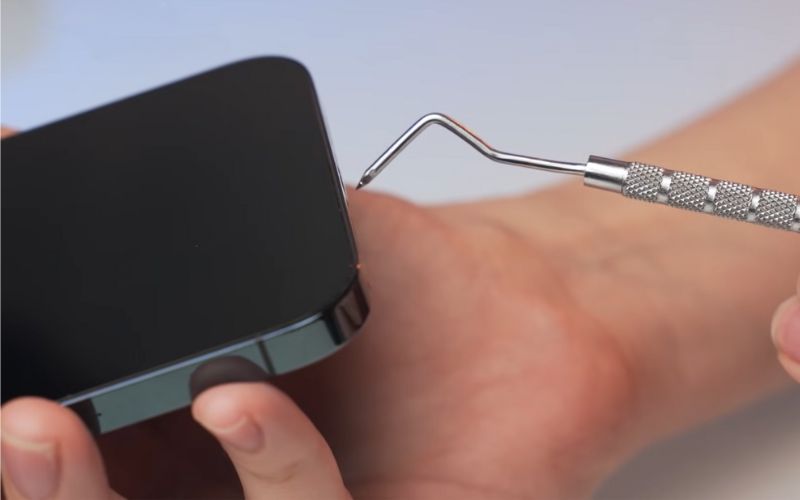
If cleaning doesn’t work, the charging port may need to be adjusted. This involves slightly bending the port’s small tab to make a better connection with the charger. Here’s how:
- Use a magnifying glass to locate the small metal tab inside the port.
- Carefully use the tweezers to slightly lift the tab upwards. Be gentle to avoid breaking it.
- After adjusting, try plugging in your charger. If it fits snugly and charges without interruption, the problem is solved!
Method 3 – Tightening the Screws
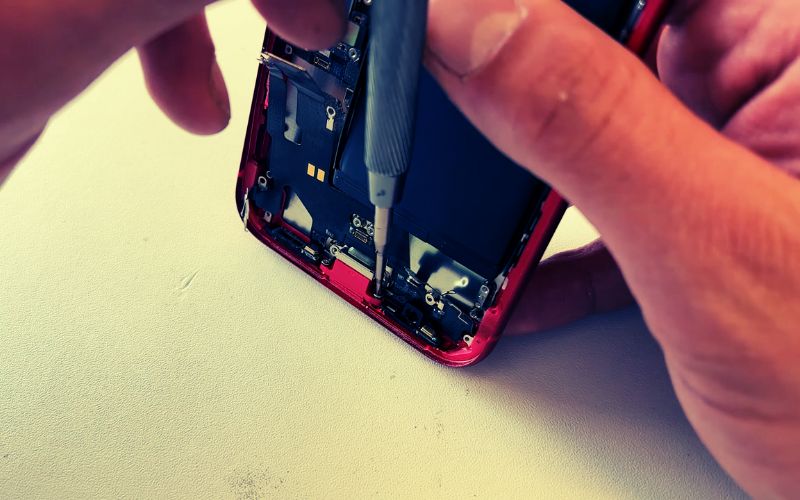
If your device’s charging port is held by screws and they have loosened over time, you’ll need to tighten them:
- Open the device using the Phillips screwdriver. Be careful not to damage any internal components.
- Locate the screws holding the charging port in place.
- Tighten these screws gently with your screwdriver. Ensure they’re secure, but don’t overtighten as this could strip the screws or damage the port.
- Reassemble your device and test the charging port.
Method 4 – Replacing the Charging Port
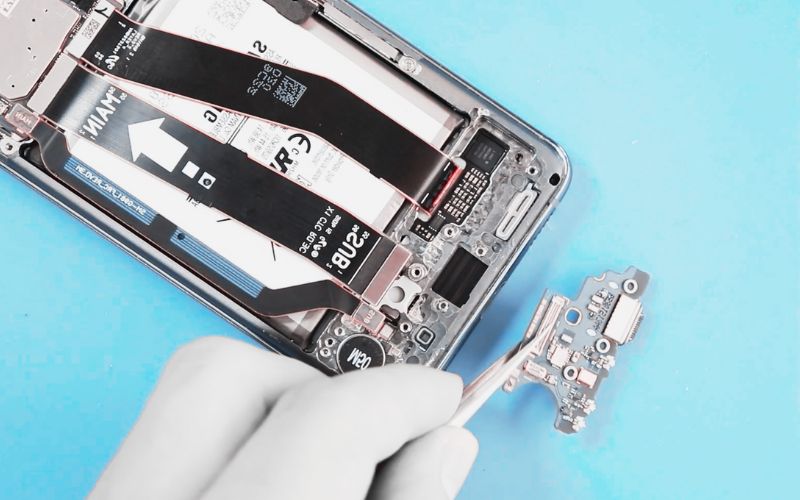
If none of the methods above work, the charging port may be damaged beyond repair and will need replacement. This is a more complex process and may require professional assistance. If you’re feeling brave, follow these steps:
- Open your device with the Phillips screwdriver.
- Identify the charging port and carefully disconnect it from the device’s motherboard. It might be soldered or connected through a flex cable.
- Replace it with a new port. You can usually find the replacement parts online or in electronics stores. Make sure to get the exact model for your device.
- After replacing the charging port, reassemble your device and test the new port.
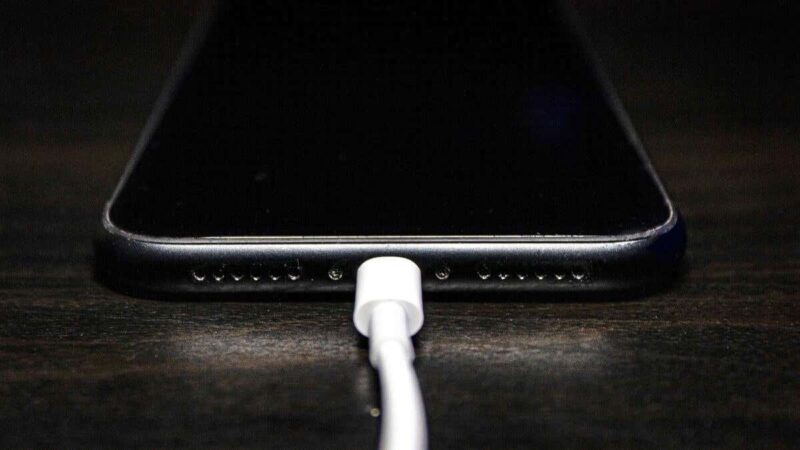
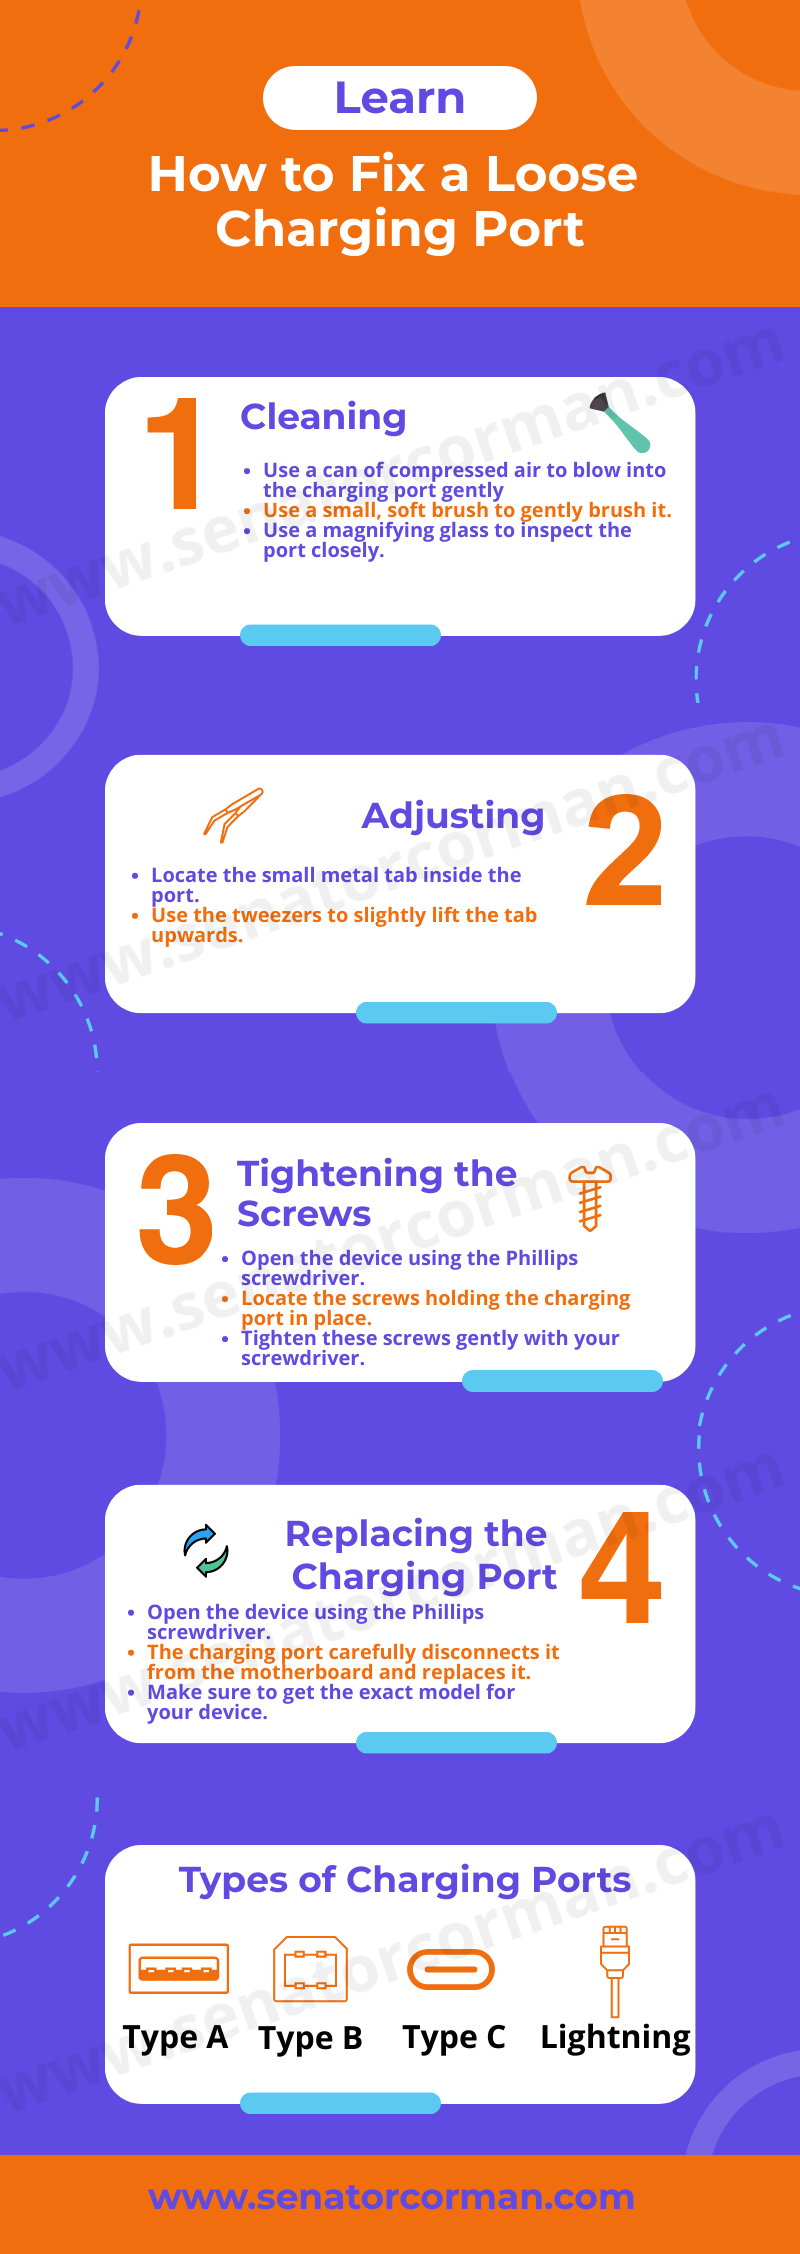
Types of Charging Ports
Charging ports aren’t a one-size-fits-all component. Different devices use different types of ports, and knowing the kind your device uses will help you troubleshoot more effectively. Here are a few common types:
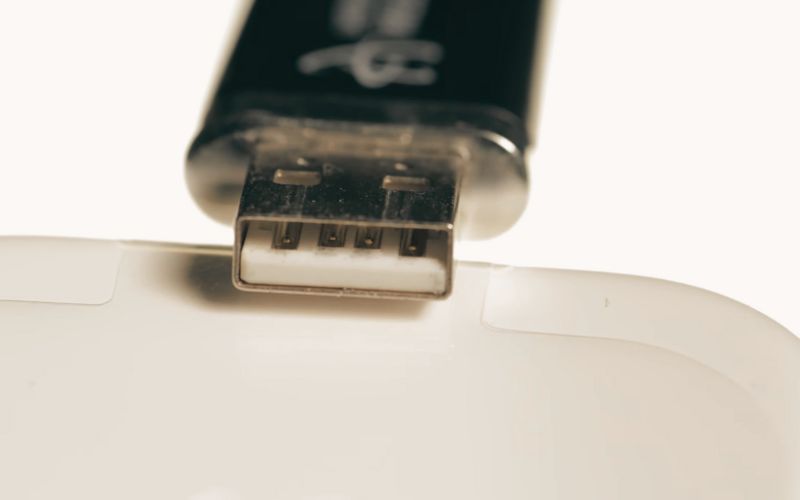
- USB Type-A: This is the traditional USB port we’ve all come to recognize. It’s slowly becoming obsolete in favor of newer, more efficient designs but can still be found in many devices.
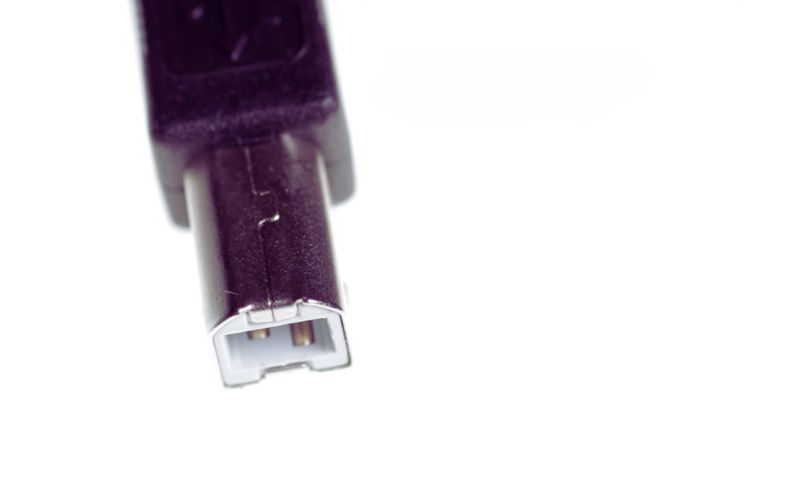
- USB Type-B: These come in mini and micro variants and are commonly used in smartphones, cameras, and similar devices.
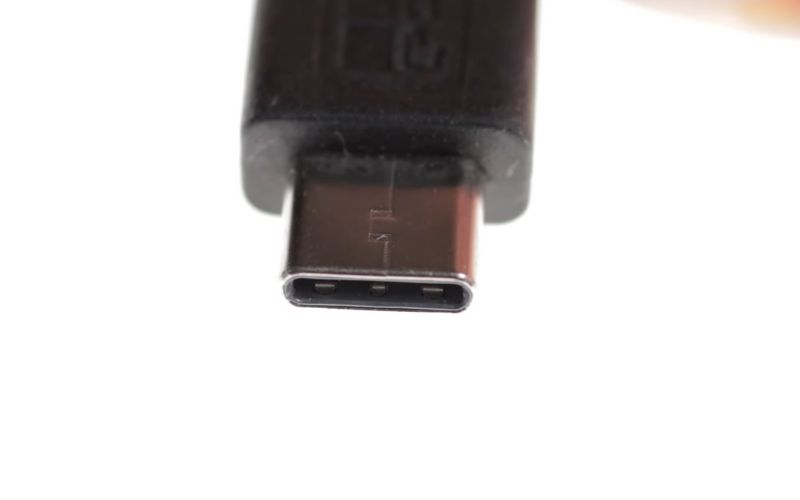
- USB Type-C: This is the newest standard, increasingly found in modern smartphones, laptops, and tablets. It’s reversible and supports fast charging.
- Lightning: Exclusive to Apple devices, the lightning port is used for both charging and data transfer.
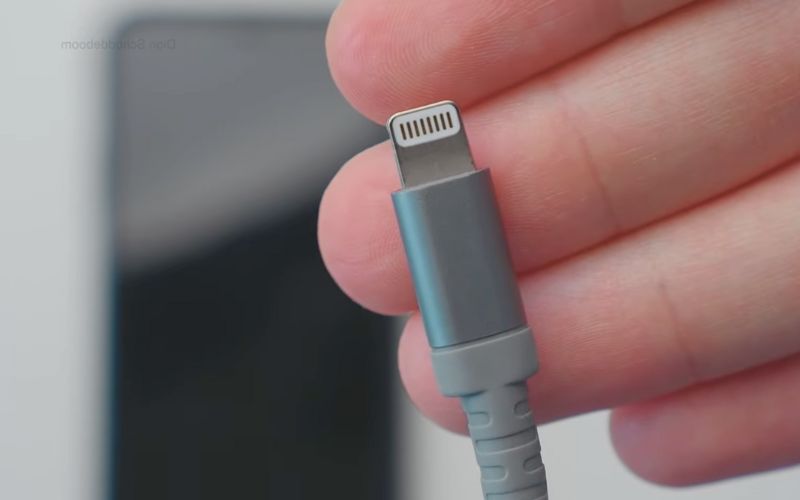
Each type has a unique design, and the problems they face may vary. For instance, lightning and USB Type-C ports are less likely to accumulate debris due to their smaller size.
Additional Tips
While we’ve already discussed using compressed air and a soft brush for cleaning, there are other techniques for stubborn debris or corrosion:
- Isopropyl Alcohol: Dip a soft toothbrush in isopropyl alcohol (90% or higher) and gently scrub the port. The alcohol will help dissolve grime and evaporate quickly, reducing the risk of liquid damage.
- Contact Cleaner: This is a quick-drying spray that dissolves dirt, oil, and oxidized surfaces. It’s safe for use on electronic equipment, including charging ports.
Always remember to power off your device and give the port enough time to dry before turning it back on.